Disclosure: This post contains affiliate links. We may earn a small commission if you purchase through our links, at no extra cost to you. We only recommend products we've thoroughly researched.
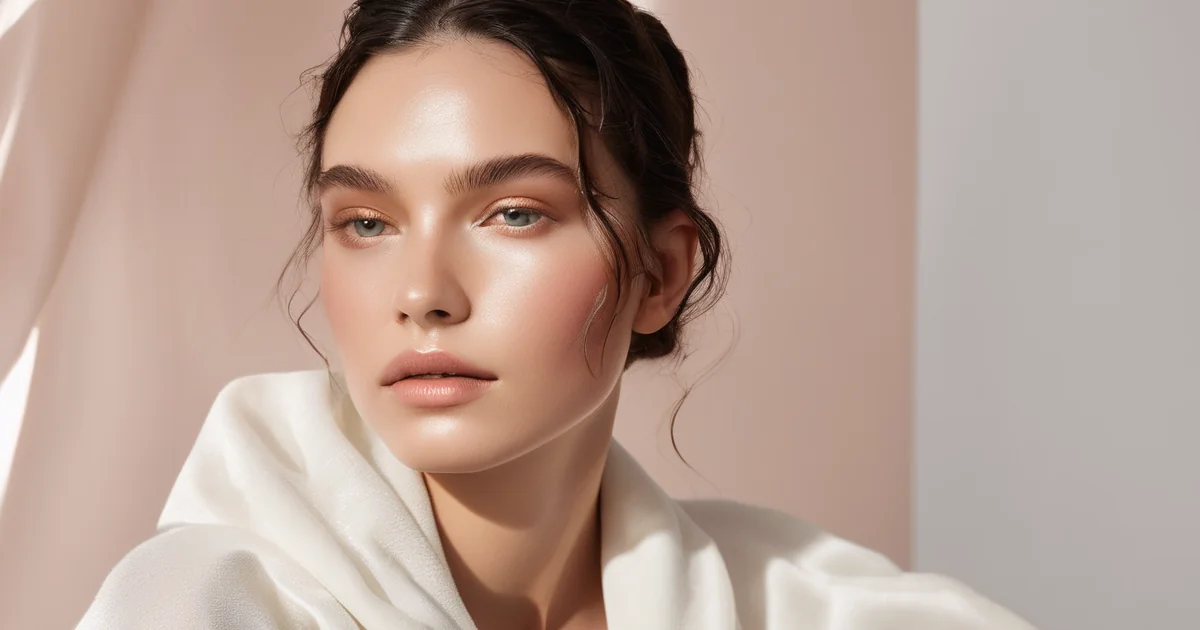
The no-makeup makeup look is the most technically demanding makeup style — it requires more skill than a bold eye look because every product must be invisible as product. The goal is skin that looks naturally good, not clearly made-up. Done correctly, people can't tell if you're wearing makeup. Done incorrectly, it looks like foundation without the rest of the makeup.
This tutorial covers every step of the no-makeup makeup look, from skincare prep through the finishing touches that make it convincing.
The Philosophy: Skin Quality First
The no-makeup makeup look only works if the underlying skin has reasonable texture and moisture. Heavy makeup trying to look like no makeup reads as exactly that — heavy makeup. The investment here is in skincare (hydration, SPF, regular exfoliation) as much as products.
Before any makeup:
- Cleanser + moisturizer applied 10–15 minutes before makeup
- Let moisturizer fully absorb — applying foundation on top of a still-tacky moisturizer causes uneven application and reduces longevity
- Primer (optional but helpful for extending the "natural" look through the day)
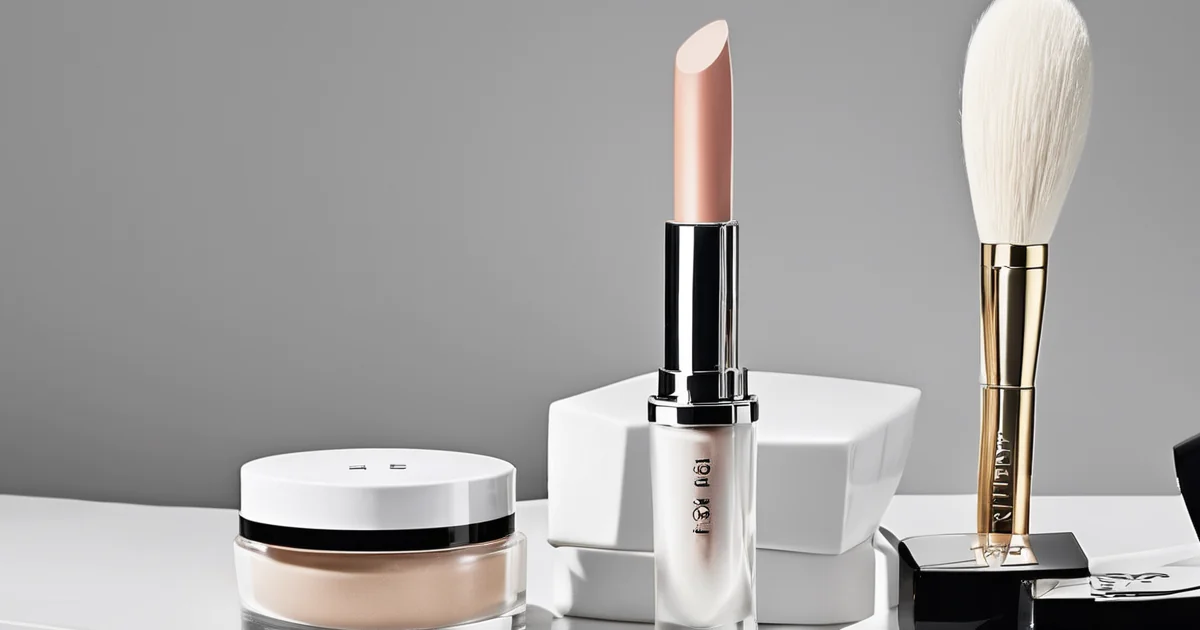
No-Makeup Look: Product Selection at a Glance
| Step | Product Category | Budget Pick | Premium Pick |
|---|---|---|---|
| Primer (optional) | Pore-blurring or luminous | e.l.f. Poreless Putty Primer (~$10) | Tatcha The Silk Canvas (~$54) |
| Skin base | Tinted moisturizer/skin tint | Maybelline Fit Me TM (~$7) | Charlotte Tilbury Flawless Filter (~$47) |
| Spot conceal | Creamy concealer | Maybelline Age Rewind (~$10) | NARS Radiant Creamy (~$32) |
| Blush | Cream blush | e.l.f. Monochromatic Multi Stick (~$10) | Rare Beauty Soft Pinch (~$22) |
| Mascara | Defining/volumizing | L'Oréal Voluminous (~$9) | L'Oréal Voluminous (~$9) |
| Brows | Clear/fiber gel | Soap + spoolie | Glossier Boy Brow (~$14) |
| Lips | Sheer tint/balm | Burt's Bees Tinted Balm (~$6) | Fresh Sugar SPF 15 (~$26) |
| Finish | Setting spray | e.l.f. Mist & Set (~$8) | MAC Fix+ (~$30) |
Step 1: Skin Prep and Primer (Optional)
For the no-makeup look, primer should address specific concerns without adding texture or visible coverage.
For pores: Tatcha The Silk Canvas Protective Primer (~$54) — smooths pore texture without a silicone-heavy feel that looks artificial. Alternative: e.l.f. Poreless Putty Primer (~$10) — excellent pore-blurring at budget price.
For luminosity: Charlotte Tilbury Flawless Filter (~$47) — a filtered-glow primer that adds the sheer luminosity characteristic of healthy, hydrated skin without visible shimmer.
For sensitive/minimal makeup skin: Skip primer and apply foundation directly over moisturizer — a damp beauty blender application sheers out foundation significantly and creates a natural skin finish.
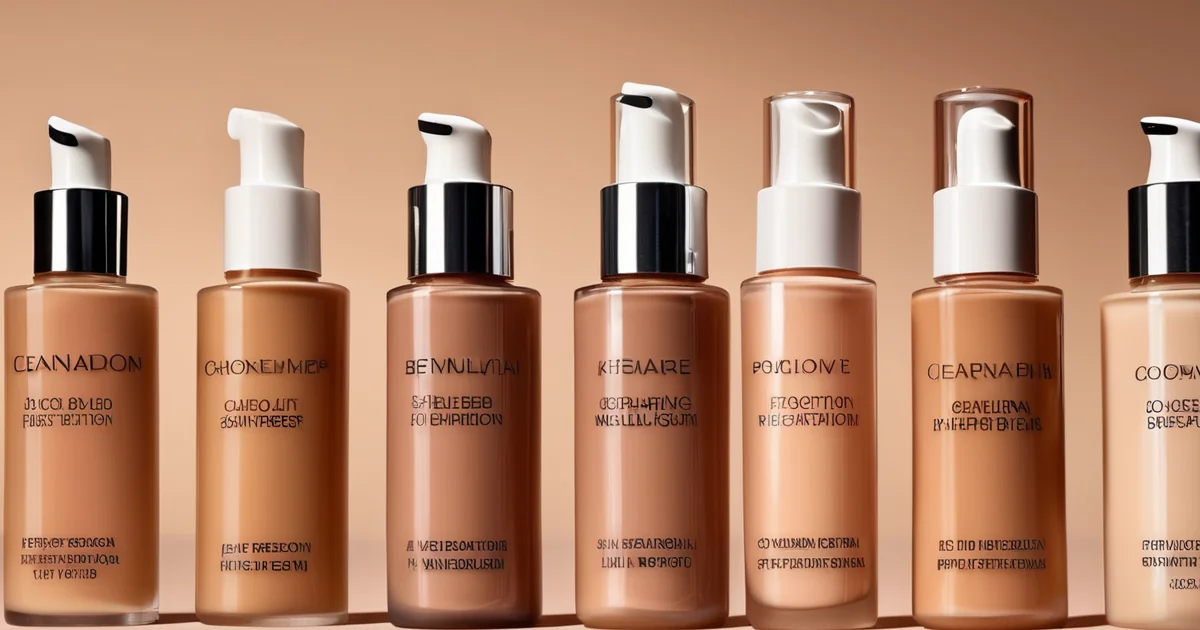
Step 2: Skin Tint or Light Foundation
This is the most critical product decision in the no-makeup look. Full-coverage foundation applied all over the face creates an obvious made-up appearance. The no-makeup look requires:
Option A — Skin Tint (lightest coverage):
A skin tint evens tone while allowing natural skin variation to show through — the imperfections that make skin look "real" rather than a flat mask. Appropriate when skin tone is relatively even with only minor concerns.
Recommended skin tints:
- Ilia Super Serum Skin Tint SPF 40 (~$48) — the most recommended; niacinamide + squalane + SPF in a weightless serum with 18 shades
- Charlotte Tilbury Beautiful Skin Foundation (~$47) — medium coverage that photographs as a skin tint; skincare-infused
- Laura Mercier Tinted Moisturizer Natural Skin Perfector SPF 30 (~$48) — the classic; buildable from sheer to light coverage
Option B — Skin Foundation Sheered Down:
Apply a medium-to-full coverage foundation with a damp beauty blender using a stippling motion — the water in the sponge dilutes the formula and sheers it out. Apply only where needed (center of face, around nose, any hyperpigmentation) rather than all over.
Application technique for natural finish:
1. Dampen beauty blender thoroughly (ring it out so it's damp, not dripping)
2. Apply a small amount of foundation (50% less than usual) to the back of your hand
3. Bounce the sponge into the product, then bounce across the face
4. The damp sponge deposits a sheer, natural layer rather than full coverage
5. The finish should look like good skin, not foundation
Step 3: Concealer — Targeted, Not Full-Coverage
In the no-makeup look, concealer is used precisely where needed, not swept across the entire undereye area.
Where to apply:
- Inner corners of eyes (where redness and dark pigment concentrate)
- Active blemishes or spots requiring coverage
- Any visible hyperpigmentation that the skin tint didn't cover
Where NOT to apply for the no-makeup look:
- The entire undereye area — this creates the bright triangle highlight that looks distinctly made-up in photographs
- Over healthy, even areas that don't need coverage
Recommended concealers for natural finish:
- Maybelline Instant Age Rewind Eraser (~$10) — the applicator sponge deposits a small, targeted amount for precise application
- NARS Soft Matte Complete Concealer (~$32) — buildable from sheer to full for precise spot coverage
- Tarte Shape Tape (~$32) — full coverage but used in the smallest possible amount for targeted spot coverage
Application: Use your ring finger (lightest pressure of any finger) to tap concealer precisely where needed. Do not blend with brush — fingertip warmth blends concealer more seamlessly into skin for the most natural result.
Step 4: Brows — Filled, Not Drawn
Brows are the most obvious indicator of makeup wearing. Over-drawn, heavily filled, or obviously pencilled brows immediately break the no-makeup illusion.
The no-makeup brow approach:
1. Brush brows upward with a clean spoolie — reveals the natural brow shape and lifts for a groomed appearance
2. Fill any sparse areas with a brow pencil using very light, hairlike strokes — never solid color
3. Set with a clear or tinted brow gel
Products:
- Anastasia Beverly Hills Brow Wiz (~$25) — ultra-fine tip for hairlike strokes
- e.l.f. Instant Lift Brow Pencil (~$8) — excellent affordable alternative with fine tip
- Glossier Boy Brow (~$16) — clear/tinted gel for natural brow grooming without pencil
- NYX Professional Makeup Control Freak Eyebrow Gel (~$6) — clear gel for a natural brushed-up look
For very full brows: Skip the pencil entirely. Brush up with a tinted brow gel. Done.
Step 5: Eyes — Lifted, Not Made-Up
The no-makeup look emphasizes eye shape without visible eyeshadow or liner that reads as obviously applied.
Mascara (the only essential eye step)
- Mascara that lengthens and separates without clumping — clumped mascara looks obviously applied
- Recommended: L'Oréal Paris Telescopic Mascara (~$12) — precision comb wand separates and lengthens each individual lash naturally
- Apply only to upper lashes — lower lash mascara in the no-makeup look often reads as panda eyes
Eyelash curler (optional)
Curling the upper lashes before mascara lifts the eyes and creates the appearance of more open, alert eyes without any visible product.
Nude eyeliner (optional)
A nude or skin-toned pencil applied to the waterline (inner lower lash line) makes the whites of the eyes appear larger and the eyes more awake — with zero visible liner appearance. Recommended: Nyx Professional Makeup Eye Bright Pencil (~$9) in beige or nude.
Skip: Eyeshadow, liquid liner, dark kajal in the waterline — all visibly "made up" for a natural look context.
Step 6: Cheeks — Skin-Tone Blush
Blush is one of the highest-impact no-makeup look steps — a natural flush in a skin-tone-adjacent shade creates a health and vitality effect that makes skin look naturally good.
Shade selection: The right shade mimics what your cheeks look like naturally when flushed — typically a peach-pink or mauve for light skin, warm terracotta or deep berry for medium-to-deep skin. Shades that look "natural" in the compact often look natural on skin; shades that look "pretty" in the compact can look obviously artificial on skin.
Cream blush for the most natural finish:
- Glossier Cloud Paint (~$22) — gel-cream with a buildable, skin-staining formula that photographs like natural flush
- NARS Orgasm Illuminator (~$32) — liquid blush with subtle shimmer
- ILIA Multi-Stick (~$34) — cream blush + highlighter for cheeks and eyes
Application for natural finish:
Apply cream blush with fingers — the warmth of your fingertips blends into skin more seamlessly than any brush. Tap onto the apple of the cheek and blend upward toward the temple with circular motions.
Step 7: Highlight — The Key to the "Skin" Effect
A subtle highlight on key high points creates the "I have naturally great skin" effect that defines the no-makeup look.
What you want: A dewy, inner glow that looks like skin itself rather than shimmer applied over skin.
Avoid: Chunky glitter highlighters, extreme high-shimmer formulas, or anything applied heavily — these look artificial in real life even if they photograph beautifully.
Recommended subtle highlights:
- Charlotte Tilbury Flawless Filter (also used as primer) dabbed on cheekbones with a fingertip
- RMS Beauty Un Cover-Up Luminizer (~$38) — coconut oil-based, creates a skin-like glow
- Glossier Haloscope (~$22) — crystal highlighter with skin-toning crystals; one of the most natural-looking highlighters
Placement: Very top of cheekbones, bridge of the nose (optional), cupid's bow, center of eyelids (optional). Never powdered down over the highlight area — leave these points product-free or very lightly dusted.
Step 8: Lips — Enhanced, Not Dramatic
The no-makeup lip: A sheer lip color in a your-lips-but-better shade — nudges lips toward a fuller, more even appearance without obvious lipstick.
Recommended:
- NARS Afterglow Lip Balm (~$29) — sheer pigmented gloss with a balm finish
- Charlotte Tilbury Pillow Talk Lip Liner (~$26) + matching balm — the nude-pink shade that flatters most skin tones for the natural lip
- Maybelline Lifter Gloss (~$10) — glossy, plumping, sheer — budget perfect
- Glossier Lip Gloss (~$16) — clear gloss that enhances natural lip color
Skip: Matte lipstick, bold colors, lip liner that visibly outlines the lips — all obviously "made-up."
Setting the No-Makeup Look
Light powder only where needed: A very light dusting of translucent setting powder only on the oiliest zones (T-zone) maintains the look without powdering over the dewy finish elsewhere.
Setting mist: A fine mist of setting spray (MAC Fix+, Urban Decay All Nighter) over the completed look melts everything together and creates a skin-like finish that removes any remaining powder-iness.
Frequently Asked Questions
Q: What is the most important step in the no-makeup look?
A: Skincare underneath. A well-moisturized, exfoliated, and healthy skin baseline makes the no-makeup look significantly more convincing than products alone. The no-makeup makeup look is 60% skincare and 40% product — the products simply enhance what's there. Starting with dehydrated or textured skin and applying products over it rarely achieves the "effortless" result.
Q: How do I make foundation look like skin?
A: Three techniques: (1) Use a damp beauty blender rather than a brush — the water in the sponge dilutes and sheers out the formula; (2) Use 50% less product than you think you need; (3) Apply only where you need coverage rather than all over the face. Skin texture variation (slight pores, faint marks) showing through the foundation reads as skin; a completely even, opaque surface reads as makeup.
Q: Can I do a no-makeup look if I have acne or blemishes?
A: Yes — with targeted concealer on specific blemishes rather than full-coverage foundation all over. The approach: sheer skin tint all over, targeted concealer on specific blemishes with a small brush, set lightly. Attempting to cover every mark with heavy foundation in a "natural" look rarely succeeds — accepting some visibility while covering the most prominent marks creates a more convincing result.
Q: How long does the no-makeup look last?
A: 4–6 hours typically for skin tint formulas without setting products; 8–10 hours with appropriate primer and setting spray. The look works best when touched up minimally — blotting papers for oil, a light powder press in the T-zone — rather than reapplying product over faded makeup (which creates layering and creasing).
Conclusion
The no-makeup makeup look succeeds through restraint and precision — using less product than seems necessary, applying it exactly where needed, and stopping before it tips into visible makeup territory. The fundamentals: sheer coverage that evens rather than masks, precise spot concealing, natural brow grooming, mascara only, flush-like blush, and a hint of highlight.
Practice in natural daylight, not indoor lighting — the harsh truth of natural light catches what interior lighting misses. If it looks natural in sunlight, it will look natural everywhere.
Continue with how to contour for beginners and the 15 best mascaras of 2026.

0 Comments
Leave a Comment
Your email won't be published. Comments are moderated.
No comments yet. Be the first to share your thoughts!